Help Article
Salesforce Integration Guide
Learn how to integrate with Salesforce.
Salesforce Integration
This guide will walk you through setting up the Salesforce integration with Amolino.
You need to be an admin in your Salesforce account and in Amolino.
- Sign in to your Amolino account.
- Select your organization and click on the gear icon next to it.
- Go to the "Apps & integrations" tab.
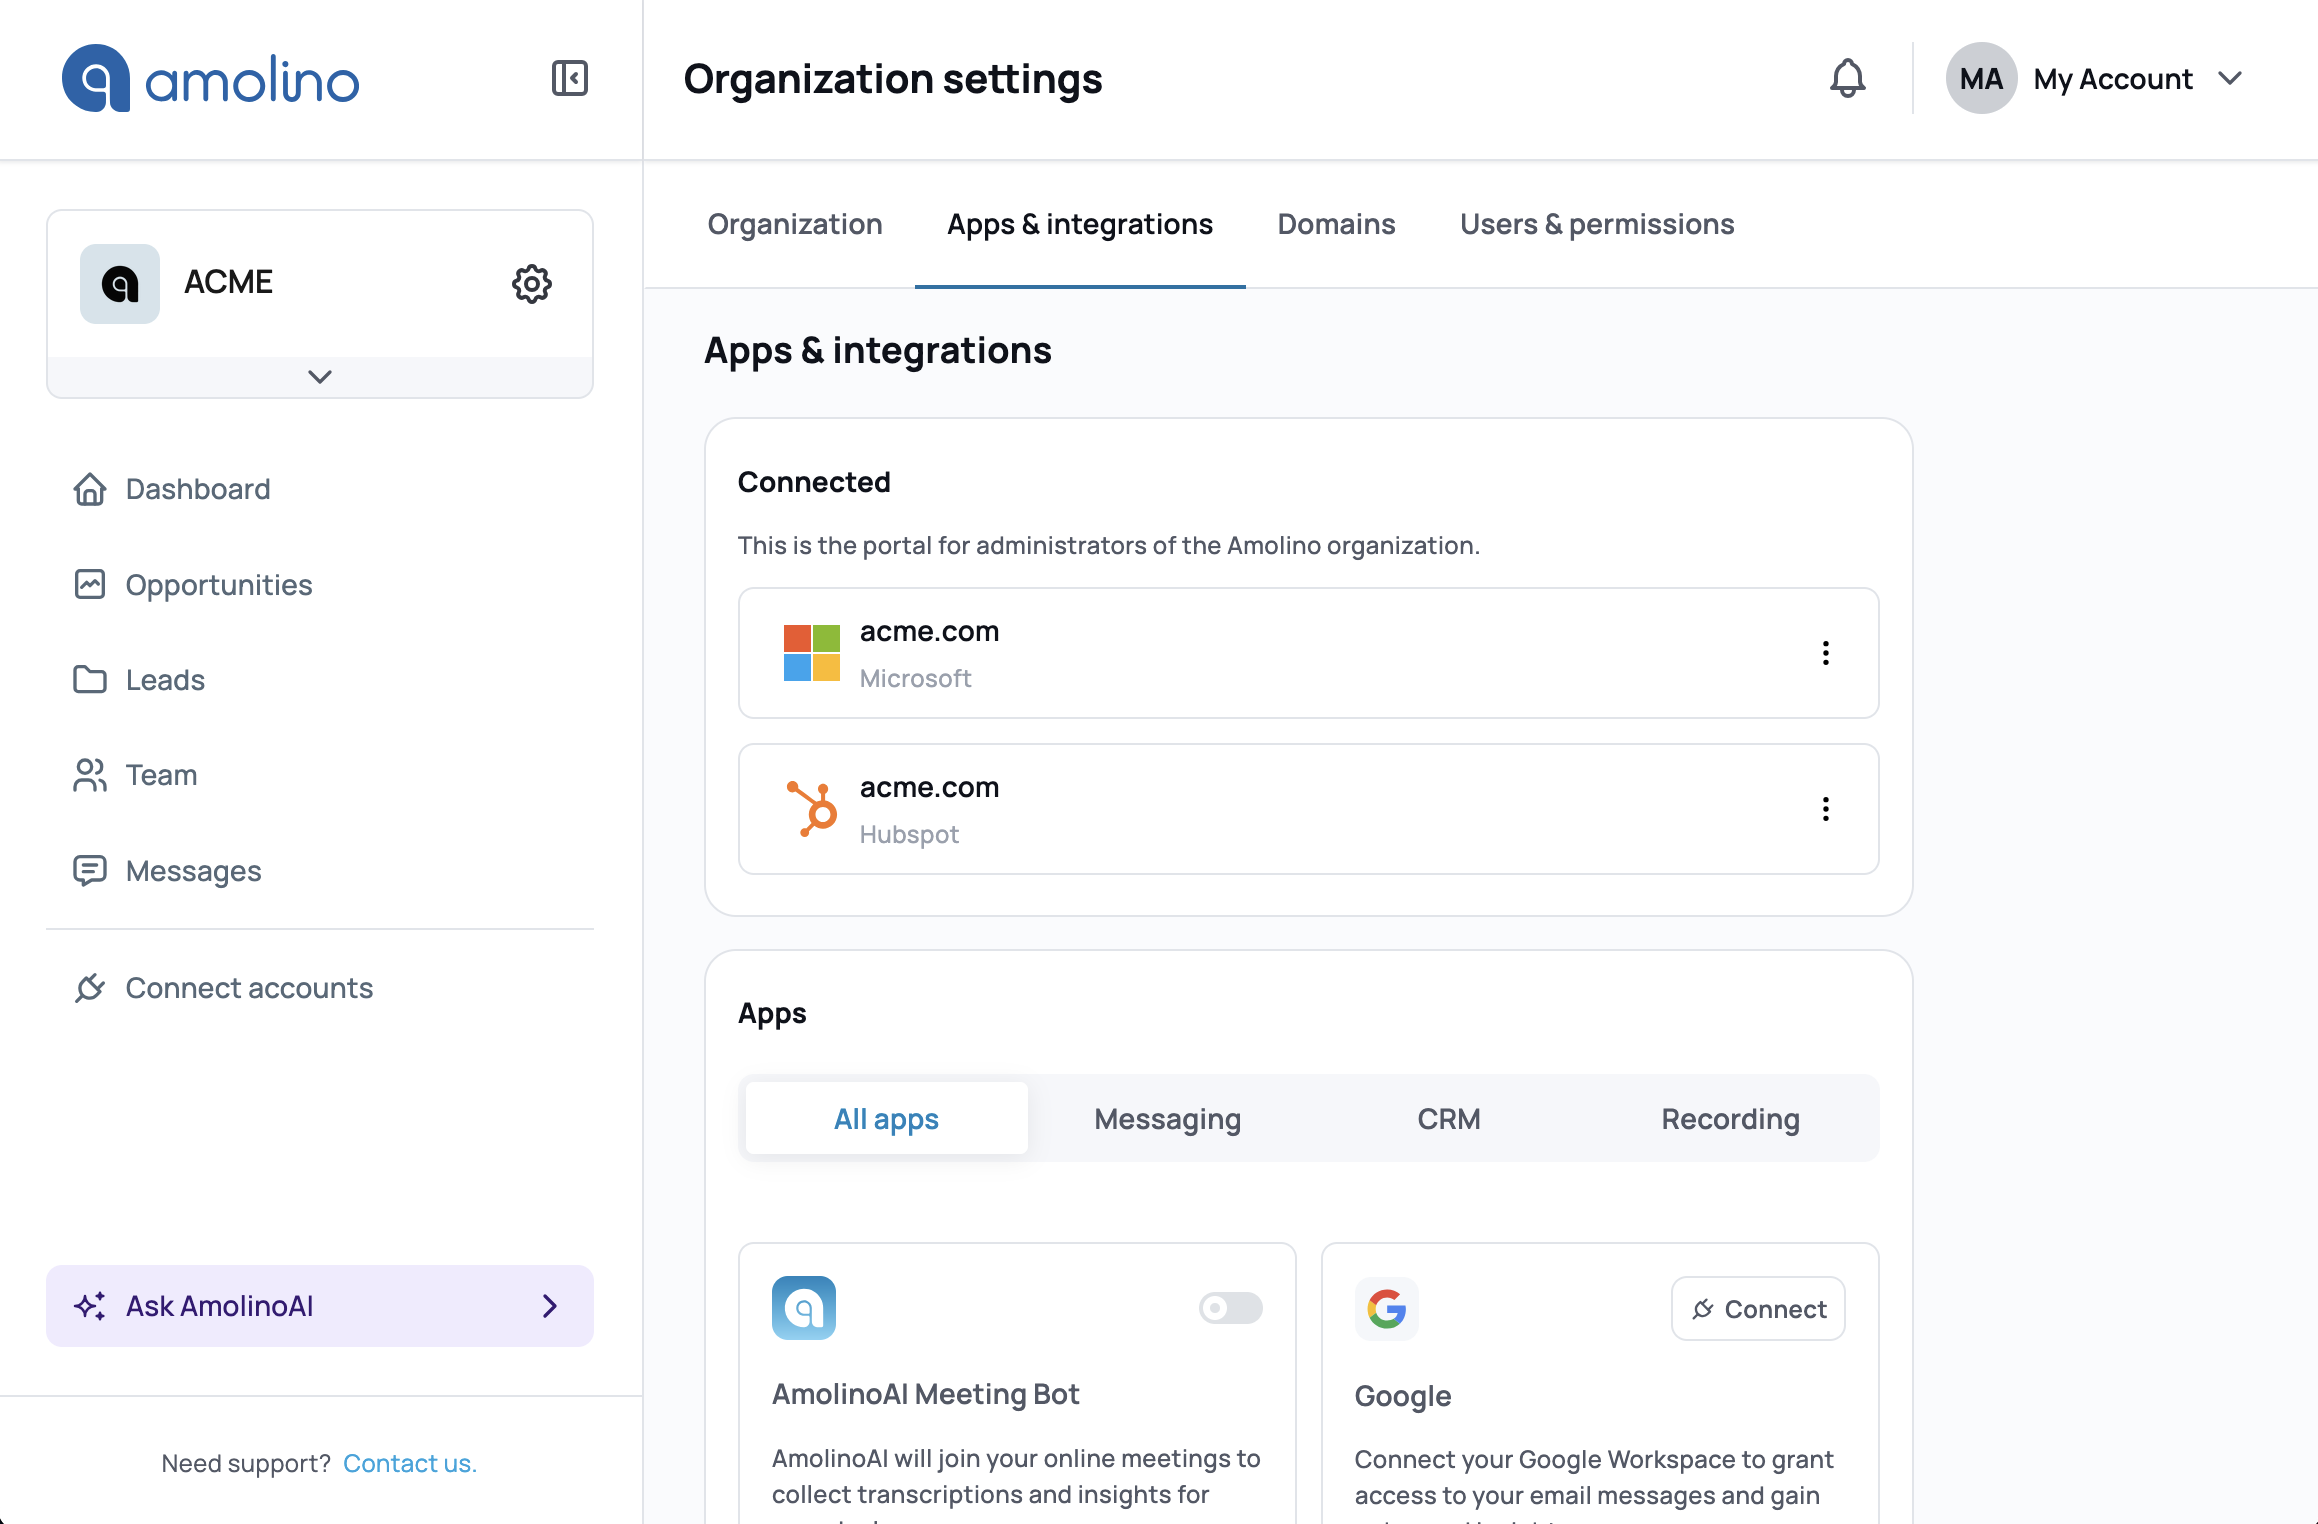
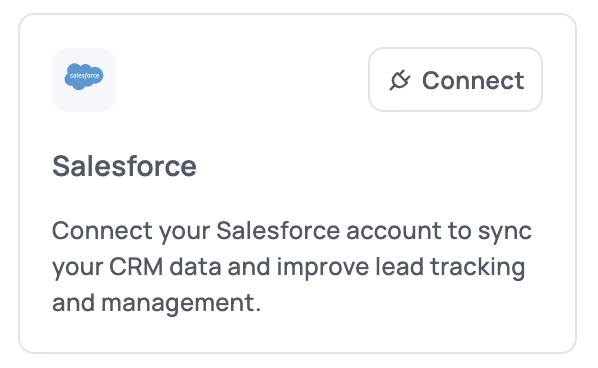
Find Salesforce in the list of available integrations towards the bottom of the page (under "Apps"). Click on "Connect" to start the integration process.
A popup will appear asking you to authorize the connection. Follow the instructions. The popup will close automatically at the end of the process, and Salesforce will be connected.
To receive real-time updates on changes to your Salesforce records — such as Deals (Opportunities), Companies (Accounts), and Products — you need to enable Change Data Capture (CDC) in your Salesforce org.
CDC publishes change events whenever a record is created, updated, deleted, or undeleted, allowing Amolino to stay in sync with your Salesforce data without polling.
Required Salesforce edition
Change Data Capture is available in Enterprise, Performance, Unlimited, and Developer editions (both Salesforce Classic and Lightning Experience).
Required permissions
| Action | Permission needed |
|---|---|
| View the Change Data Capture page | View Setup and Configuration |
| Add or modify entity selections | Customize Application |
How to enable CDC
- In Salesforce, click the gear icon (⚙) in the top-right corner and select Setup.
- In the Quick Find box, type
Change Data Captureand click Change Data Capture. - In the Available Entities list on the left, locate the objects you want Amolino to track. We recommend enabling CDC for at minimum:
- Opportunity (Deals)
- Account (Companies)
- Product2 (Products)
- OpportunityLineItem (Line Items / Products on Deals)
- Contact (Contacts)
- Select each entity and click the right arrow (>) to move it to the Selected Entities list.
- Click Save.
Note: By default, you can select up to 5 entities. If you need more, contact your Salesforce Account Representative to purchase the Change Data Capture add-on license, which removes this limit.
Once saved, Salesforce will start publishing change events on the standard channel, and Amolino will automatically pick them up in real time.
Verifying CDC is active
After saving, changes to any of the selected objects in Salesforce should be reflected in Amolino within seconds. You can verify the setup by making a small update to an Opportunity in Salesforce and checking that it appears in Amolino shortly after.
Amolino passes a created_at timestamp when syncing records to Salesforce. For this to work, your Salesforce org must allow setting audit fields on record creation, and the integration user must have the corresponding permission.
Enable "Set Audit Fields upon Record Creation"
- In Salesforce Setup, search for
User Interfacein the Quick Find box. - Scroll to the Allow Setting of Audit Fields section and enable Set Audit Fields upon Record Creation.
- Click Save.
Create and assign a Permission Set
- In Setup, go to Permission Sets and click New.
- Give the permission set a name (e.g.,
Amolino Audit Fields) — no licence is required. - Inside the permission set, go to System Permissions and enable Set Audit Fields upon Record Creation.
- Click Save.
- Click Manage Assignments, then Add Assignments.
- Assign the permission set to the user running the Amolino integration (typically the user with the System Administrator profile).
Reference: Creating Audit Fields in Salesforce
Related Articles
Google Workspace Integration Guide
Learn how to integrate with Google Workspace.
How to Grant Microsoft Permissions for Amolino
A guide for Microsoft administrators to approve Amolino's access to your Microsoft tenant.